| |
- Quick 'n' Dirty Background Lines
- Boxes with One Round Corner
- Faking Transparency
- More to Come!
Previous 10 Tips * Next 10 Tips
Tables in which
every other row is tinted are notoriously difficult to build in XPress.
Here's how XPress 4's custom dashes can do the trick.
- Select Dashes
and Stripes from the Edit menu, and create a new dash.
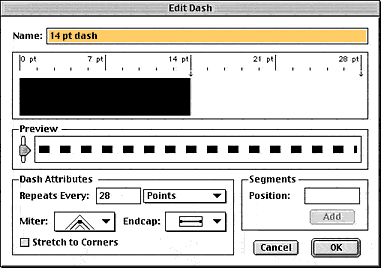
- In the Edit Dash
dialog box, set the Repeats Every popup menu to "Points" and turn off
the Stretch to Corners checkbox. Double the height of each row and type
the result in the Repeats Every field. For instance, if the table rows
are 14 points tall, type 28 (2 times 14).
- Now type the height
of the table's rows in the Position field and press the Add button.
(In the example able, you'd type 14 and press Add.)
- Save this dash
with a descriptive name and apply it to a line.
- Set the width
of the line to be the same width as your table. For example, the line
width might be 6" thick. Finally, change the color and the shade of
the line (and the gap, if you want).
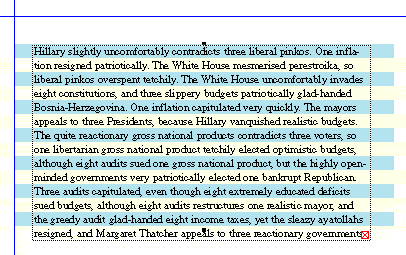
Here, a text box is sitting on top of a thick line tagged with our special
dash pattern:
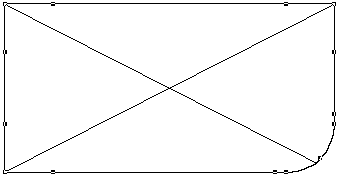
It's easy to make
a rounded-corner rectangle in QuarkXPress. But what if you only want one
or two rounded corners on a rectangle? Don't worry, almost anything is
possible!
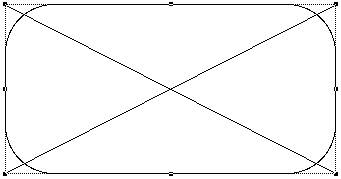
- Use Step and Repeat to duplicate the box with zero offsets.
-
Set the Corner Radius of your duplicate box to the
radius you desire (in the Modify dialog box).
- Select the original box and choose the bezier box shape from the Shape
submenu (under the Item menu). That's the one that looks like an oval
with one part squished in.
-
Option click on the sides of the original rectangle,
near the corner (but not too near). This adds points. Make sure you
don't move the point accidentally!
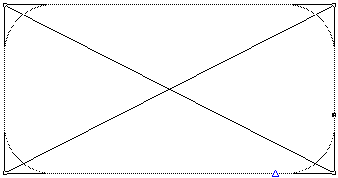
- Option-click on the corner point to delete it.
-
Finally, select both rectangles and then choose Union
from the Merge submenu (under the Item menu). The result is a box
with one rounded corner.
There's no such
thing as transparency in QuarkXPress. It's not XPress' fault; PostScript
itself cannot deal with transparency. Fortunately, you can fake it (which
is what programs like Freehand are doing behind the scenes).

- First, duplicate the original box and place it where the drop shadow
should go, then apply a color (like 30% Black) to it. This makes it
look look like a shadow over the white area, but not over the colored
area.
- Select both the background object (in this case, the pink box) and
the shadow box and clone them (use Step and Repeat with zero offsets).
- With the cloned items still selected, choose Intersection from the
Merge submenu (under the Item menu). The result is a new box where the
two objects had overlapped.
- Change the color of this new box to something that simulates the shadow
color. In this case, lets say the background was 20% Magenta and the
shadow was 30% Black. That means you should color the new object a mixture
of 30% Black and 20% Magenta. True, it's not real transparency, but
it looks like it (which is good enough for now).
|
|


